Once your account has been set up for Vehicle Information Maintenance, you can edit information through the Vehicle Maintenance feature. In addition to routine edits and deletions, this feature includes additional options, such as:
- Customizing field names, both optional and required, to reflect your particular operation.
- Changing optional-entry fields to required entry fields for your particular operation.
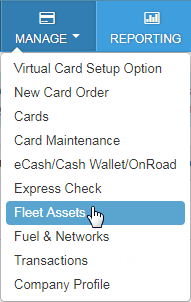
1. On the ICD home page, select Manage > Fleet Assets.
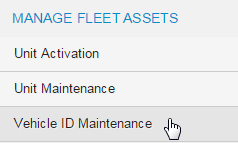
2. Select Vehicle ID Maintenance.
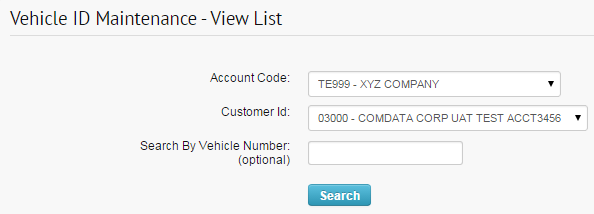
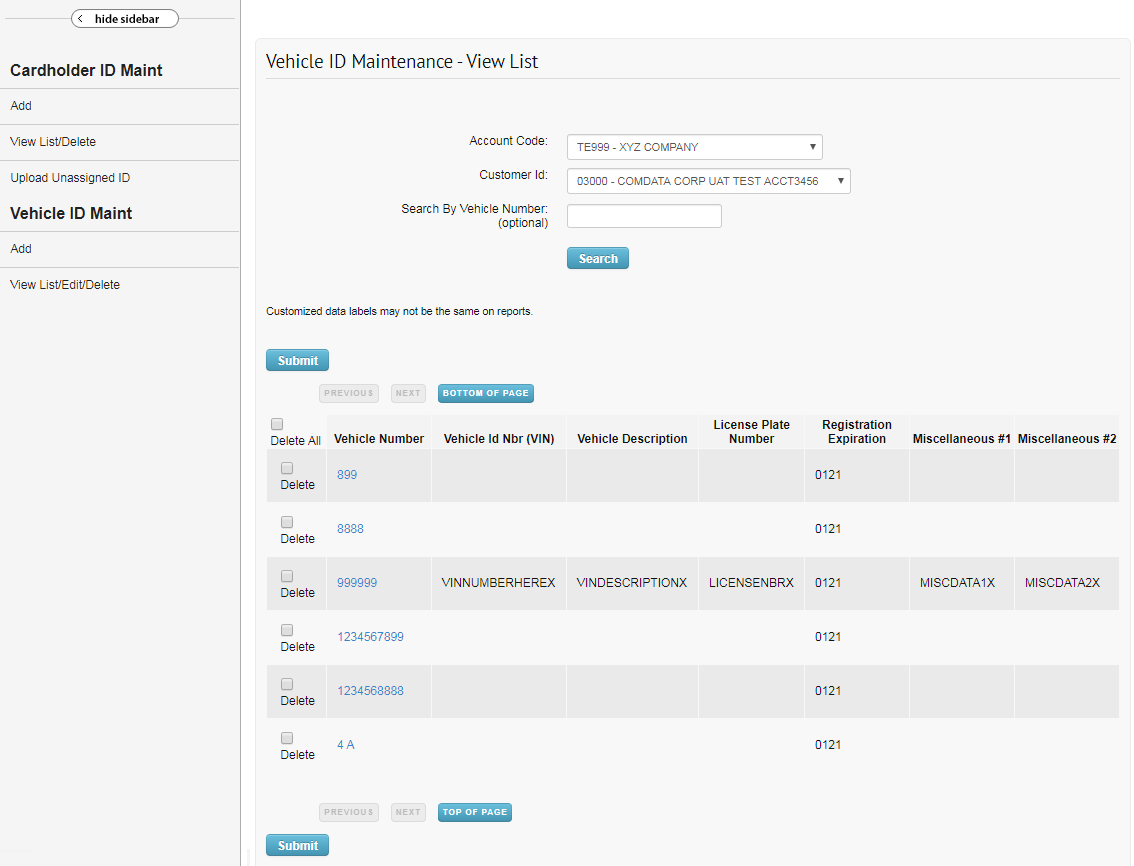
3. The Vehicle ID Maintenance – View List page opens. Select a different account code and customer ID if necessary.
Optionally, you can also enter a vehicle number in the Search By Vehicle Number field to locate a specific vehicle.
Click Search when ready.
4. The page refreshes and displays all vehicles within your selected account code and customer ID.
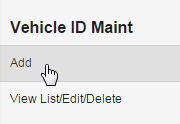
From here, you have the two options in the left-hand menu. Select Add to add an additional vehicle.
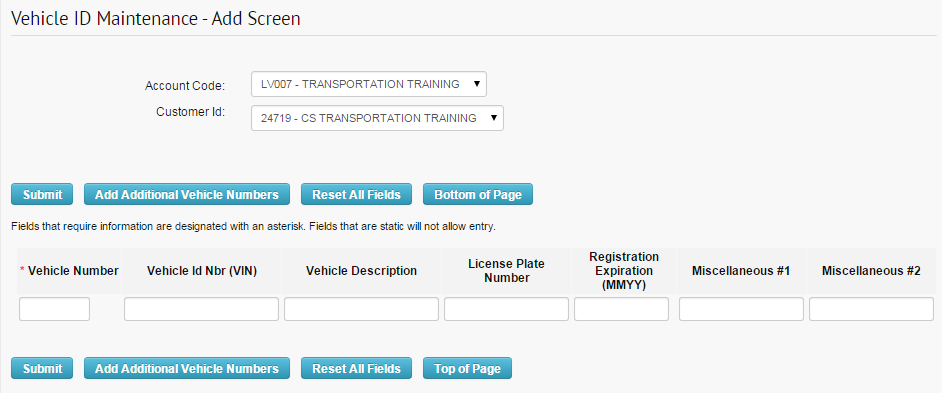
The Vehicle ID Maintenance – Add Screen page opens.
Enter all required information in the displayed fields and select Submit. Required fields are denoted by a red asterisk.
Selecting Add Additional Vehicle Numbers displays additional rows and selecting Reset All Fields clears all fields of any information you entered.
You should see an “Update Successful” message after clicking Submit. Note that your changes may not apply immediately.

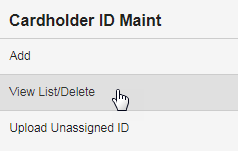
Select View List/Edit/Delete to return to the Vehicle ID Maintenance – View List page.
Select a vehicle number to open the Vehicle ID Maintenance – Edit page.
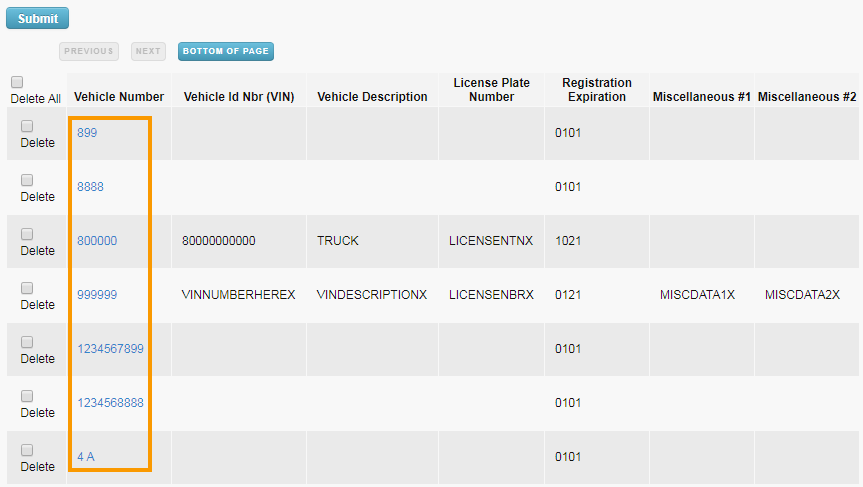
From here, you can add or change details on the vehicle.
Click Submit to save your changes.
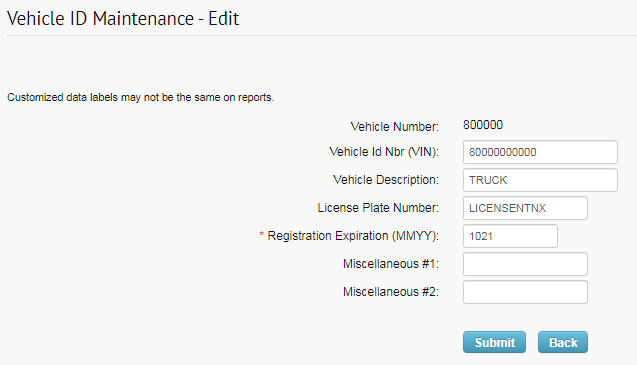
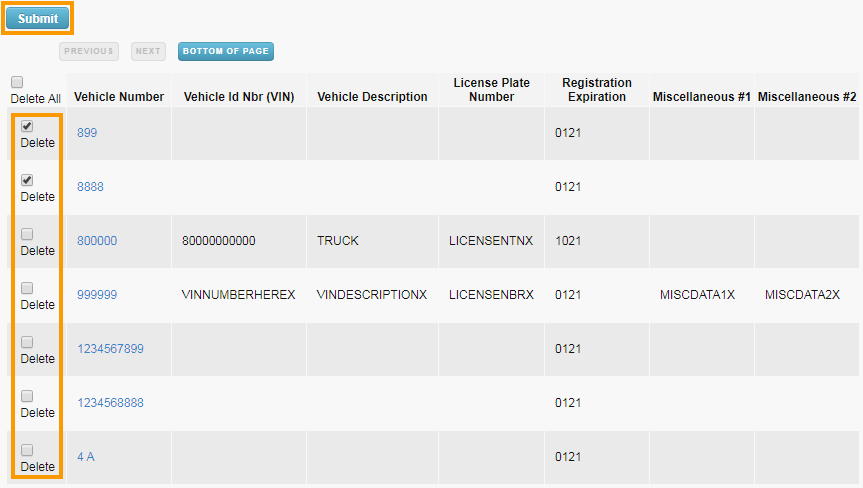
Back on the Vehicle ID Maintenance – View List page, you can delete vehicle IDs by selecting the Delete checkbox and clicking Submit.
You can also select Delete All and click Submit to remove all vehicle IDs in the list.
